Wednesday, November 30, 2016
How to Download and Install iOS via OTA and iTunes 8
How to Download and Install iOS via OTA and iTunes 8
How to Download and Install iOS via OTA and iTunes 8 - Its been an update IOS 8 ? IOS Update 8 has started circulating yesterday. If you are still confused how to do the update IOS 8, then you can mengukuti the steps below. There are two ways you can do to download and install iOS 8, namely via OTA and iTunes.

Before you download , you would first have to make sure your device supports IOS IOS IOS that support 8 devices with IOS 8 include : iPhone 4s, 5, 5C, 5s, 6, 6 Plus, iPad 2, iPad 3rd generation and 4, Water iPad , iPad mini , mini iPad Retina display and the iPod Touch 5th generation .
Download and install the update via iTunes iOS8
Before performing the update , the iPhone , iPad or iPod touch yours have a battery life of not less than 50 % and is connected to a Wi- Fi network . What is important , make sure you also have to synchronize the data in iCloud for updates in case a failure of iOS 8 . You just need to make sure the iCloud backup is active , check the Settings - > iCloud - > Storage - > Backup in the ON state . Next you can follow the steps below .
- Connect the iOS device to the computer via a data cable
- Open iTunes
- For iTunes 11.4 , go to the File menu - > Devices - > Back Up . Then click on the Back Up " Manually Back Up and Restore "
- For iTunes 10.7 , right click on your iOS device and choose Back Up
- You can monitor the backup process on the screen and wait until the backup process is complete
- Currently available updates will appear update availability notification . After the update is available , then click on " Download and Update " and wait until the process is complete .
Download and install the update via OTA iOS8
Unlike the update via iTunes , how to update via OTA iOS 8 is much simpler to do it . The following easy steps .
- Go to Settings - > General - > Software update
Go to link Download
How to set iPhone speaker as default for incoming calls
How to set iPhone speaker as default for incoming calls
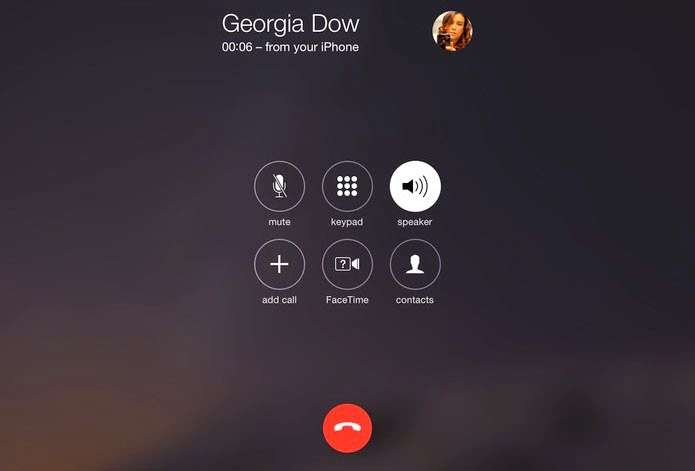
This tutorial straightly moves on to a custom settings that enables you to set your iPhone speakers as default for incoming calls. Not complicated but a very simple steps that can be set accordingly to your usage even for your headsets as like the same.
Visit the Apple | Googzone - Developers Repository to continue reading...
Go to link Download
How to screenshot your Mac PC screen
How to screenshot your Mac PC screen
Wide open all the blog and also home windows you intend to use in your current screenshot,
and also prepare these people just specifically and the choice of want to observe these people preserved.
and also prepare these people just specifically and the choice of want to observe these people preserved.
Press Command + Shift +3 all at the same time.
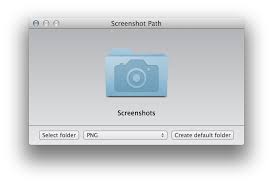
You are going to hear some sort of digital camera just click audio, and your screenshot can look in your desktop within. PNG data format, using the name Monitor Opportunity [Date + Time].
Increase click the screenshot for you to wide open and also discuss the item along with Critique. Right just click and also pick Wide open Having, or maybe lug and also drop the item, for you to wide open and also discuss the item along with one more software.
How to take a screenshot of a custom area of your Mac PC screen
Set up all the blog and also home windows you intend to screenshot, and also prepare these people just specifically and the choice of want to observe these people preserved.
Press Command + Shift + 4 all at the same time.
Location the newest crosshair cursor from one part of the location you intend to capture (for case in point, best left), and also just click and also keep.
Pull this crosshairs towards the other part (for case in point, base right).
Your crosshairs provide correct pixel matter should you prefer a certain dimensions (or even for you to measure). Store straight down Substitute for change this fasten point out center of the spot. Store straight down Change for you to fasten almost all features though the one inside course you are at this time moving.
When youre very happy with the spot, *lLet go** of the computer mouse option or maybe trackpad. No matter what is actually involved in the summarize is actually what exactly you will screenshot.
You are going to hear some sort of digital camera just click audio, and your screenshot can look in your desktop within. PNG data format, using the name Monitor Opportunity [Date + Time].
Increase click the screenshot for you to wide open and also discuss the item along with Critique. Right just click and also pick Wide open Having, or maybe lug and also drop the item, for you to wide open and also discuss the item along with one more software.

How to take a screenshot of specific window on your Mac PC screen
Wide open this software and also eye-port you intend to screenshot.
Press Command + Shift + 4 all at the same time. Your current cursor will change into crosshairs.
Press the Spacebar. Your current cursor will change into some sort of digital camera.
Location this digital camera cursor in addition to this eye-port you intend to screenshot. Your eye-port will tint azure so you can make certain it is the correct one.
Just click to take this screenshot.
You are going to hear some sort of digital camera just click audio, and your screenshot can look in your desktop within. PNG data format, using the name Monitor Opportunity [Date + Time].
Increase click the screenshot for you to wide open and also discuss the item along with Critique. Right just click and also pick Wide open Having, or maybe lug and also drop the item, for you to wide open and also discuss the item along with one more software.

Its also possible to take advantage of this strategy to have a screenshot of an certain dropdown food list, even though solely this food list is going to be taken.
The way to screenshot on to this Macintosh personal computer Clipboard
Set up your current screenshot exactly as you would should you required the outcomes preserved towards the desktop.
Press Command + Shift + 3 all at the same time for you to screenshot the main tv screen for a Clipboard.
Press Command + Shift + 4 all at the same time for you to screenshot a region, or maybe press Spacebar afterwards for you to screenshot a selected eye-port, for a Clipboard.

Go to your document or image editor of choice and use Control + v or choose Paste from the menu to copy your screenshot out of the Clipboard and into the window.
Go to link Download
How to root Motorola Fire XT311 with SuperOneClick method
How to root Motorola Fire XT311 with SuperOneClick method
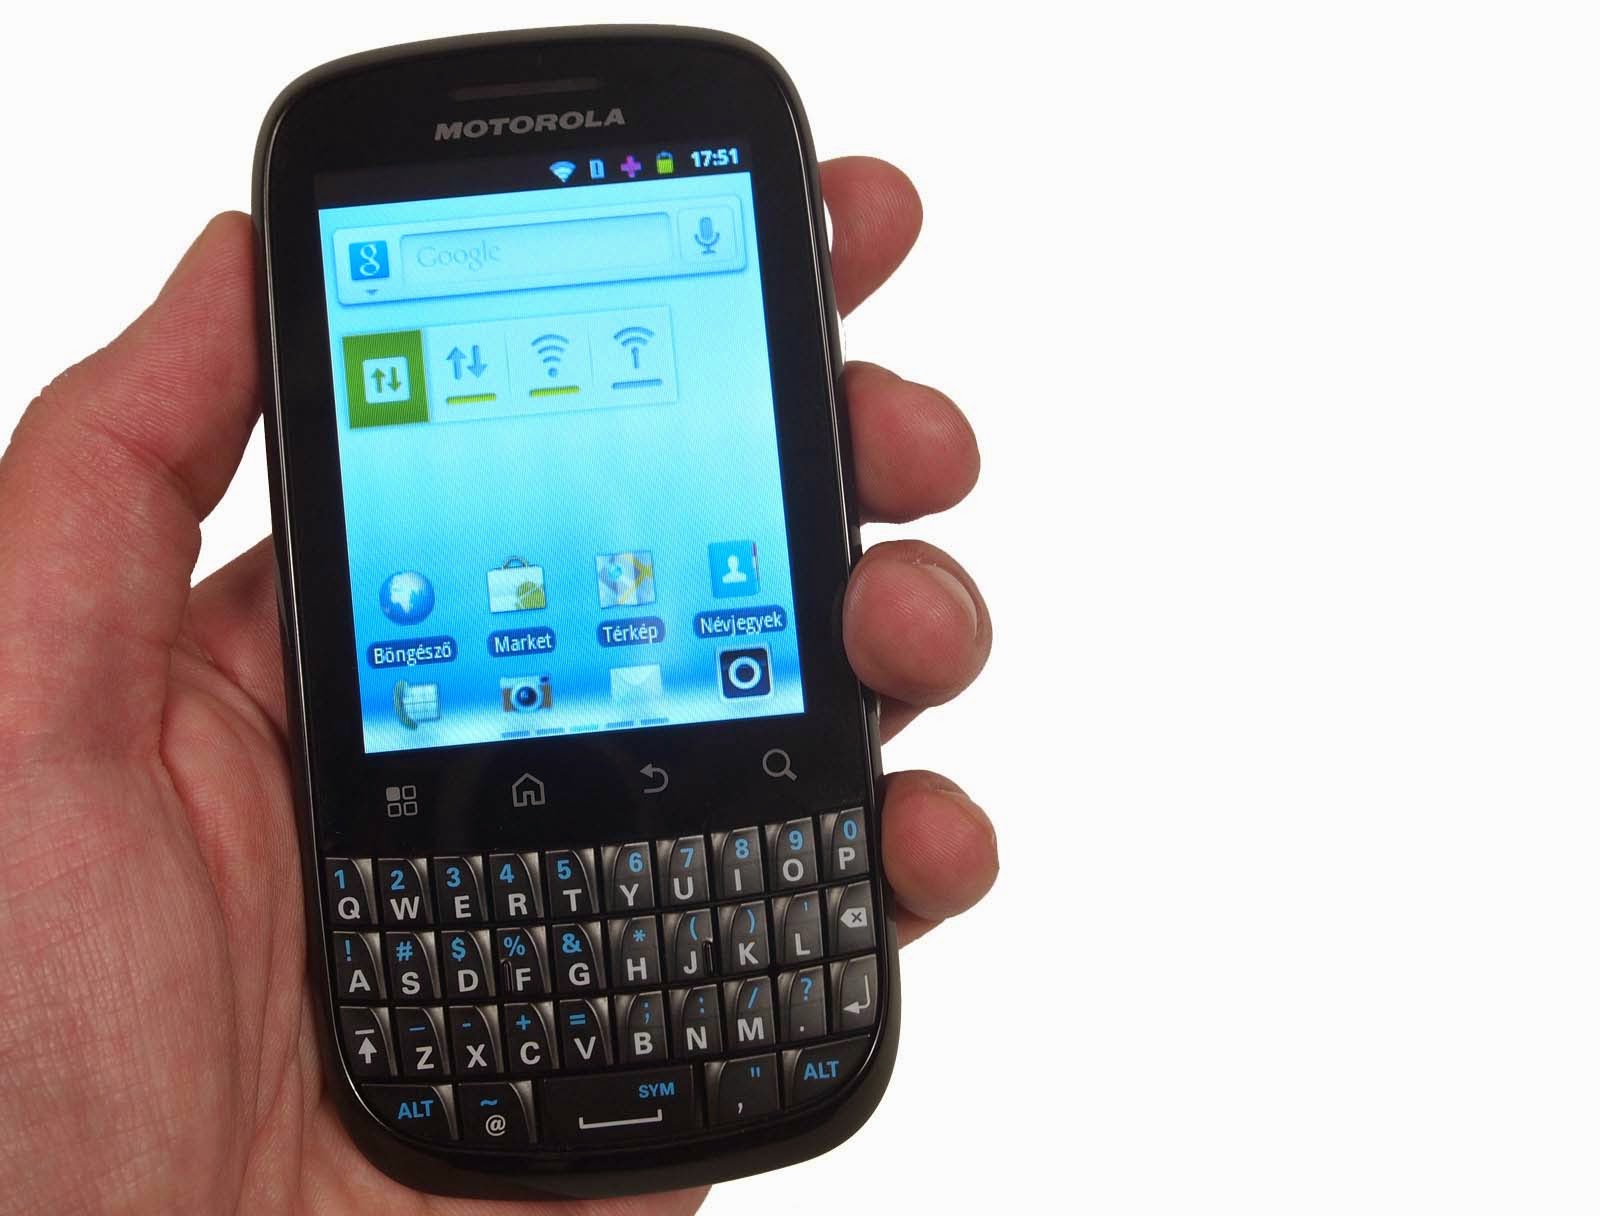
In this article we are gonna explain you how to root your Motorola Fire XT311, So here we are gonna-be using the SuperOneClick to root your device.
All you need to do is follow the instructions on how to gain root access on your Motorola Fire XT311 using tools from our Android repository (Powered By Googzone). The process is painless and pretty easy. Click here to continue reading.

Go to link Download
How to get 3gb with 500 on Glo
How to get 3gb with 500 on Glo
Note: This works only from 12am-5am and is capped at 1gb and valids for just a day.
Dial **127*60# To Subscribe
How to Subscribe to glo #500 plan
This plan valids for just 7 days, starting from weekend (Saturday 12am - Sunday 11:59pm)**
As per weekend ending, you can only use it from 12am - 5am at night till expiration.
To subscribe: Dial *127*61# on your Glo line.
Alternatively, text “61” to 127.
Go to link Download
How to direct Google on what to do with your account in the afterlife
How to direct Google on what to do with your account in the afterlife
As written earlier in my post decide what happens to your google account after you die. This is a new tool by google and here is how it is used.

Its simple to set up: choose a timeout period—three, six, nine, or twelve months of inactivity—and from there you can direct Google on what to do with your Gmail messages, Blogger posts, Contacts, Google+ account, Google Voice, and YouTube accounts. (Basically, any Google services youve used in the past.)
After that time period of inactivity, Google will send out a text message and e-mail the secondary address you provide. If you dont respond, it will assume ... well, the worst.
"We hope that this new feature will enable you to plan your digital afterlife," Google concluded in the blog post.
If you have intentions of allowing a friend or family member to have access to that data, you can set up the service to notify up to 10 people that your account has been inactive for the time youve specified.
Google will then ask for verification details for the listed people, like a phone number and e-mail address. When youre ready, you can send out an e-mail to those people youve entrusted with your data should anything happen to you.
If youre interested in setting this up, you can head to Googles Inactive Account Manager from your Google profile.
Go to link Download
How To Jailbreak iPhone 4 4s 5 5s and 5c with iOS 7 Evasi0n7
How To Jailbreak iPhone 4 4s 5 5s and 5c with iOS 7 Evasi0n7
- Perform Jailbreak quickly and easily to your iPhone compatible with iOS 7.
- Evasi0n7 is the best tool to untethered jailbreak your iPhone.
 How to Jailbreak all iPhone models compatible with the new iOS 7 - Evasi0n
New Jailbreak for iOS 7 is here and thank the Evasi0n 7 tool ,to Jailbreak your iPhone is easier than ever. As we warned over yesterday, maybe most Cydia tweaks and features not presently optimized for iOS 7, but imagine that soon this problem will be solved.If you already have your iPhone on hand and eager to perform Jailbreak your device, we shall only get down to work.
What should I know before Jailbreak my iPhone?
It is untethered Jailbreak. Which means? Roughly the Jailbreak will not disappear when turned off or reboot the device, nor will need to connect it to your computer every time you turn on the iPhone. If you want to know more, we have a great section on Jailbreak .It is highly unlikely that our iPhone runs a real risk of breaking completely, but we can deal with data loss. Therefore, it is highly recommended to perform a backup on iTunes and iCloud.
Evasi0n7 is compatible with the following versions of iOS7 ,so make sure you have installed on your iPhone: 7.0, 7.0.1, 7.0.2, 7.0.3, 7.0.4 and beta 1 and 2 of iOS 7.1.Being a newly released Jailbreak, you may find many errors / inconsistencies .Before Jailbreak you should disable the access code if you have it enabled.
What iPhone are compatible with iOS Jailbreak 7?
- iPhone 4
- iPhone 4s
- iPhone 5
- iPhone 5c
- iPhone 5s
What do I need to Jailbreak my iPhone?
1. An iPhone compatible with iOS 7 and Evasi0n7 tool (You can view the list).2. A computer operating system Windows or OS X.
3. A data cable to connect it.
4. The Evasi0n7 tool. »For Windows »For Mac
Steps to untethered Jailbreak to your iPhone iOS 7
1 - The first thing to do download the Evasi0n7 tool links that i have left in the previous section. Try to choose the one that belongs to your operating system. Once downloaded, extract it.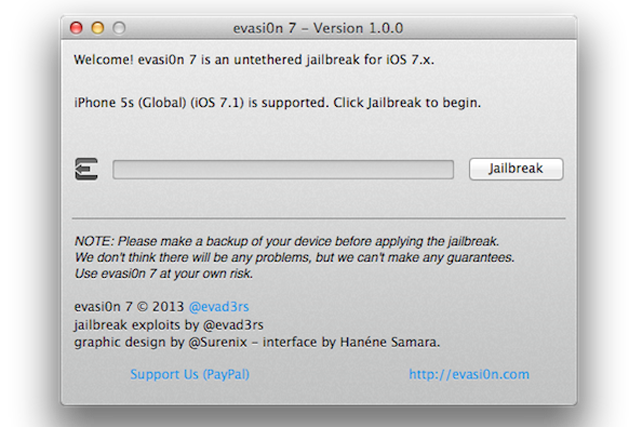
2 - The following is connect your iPhone via the data cable. Once Evasi0n7 detects the "Jailbreak" button will be activated and we will release it. We should not worry about putting it in DFU mode, the application will do it for us.
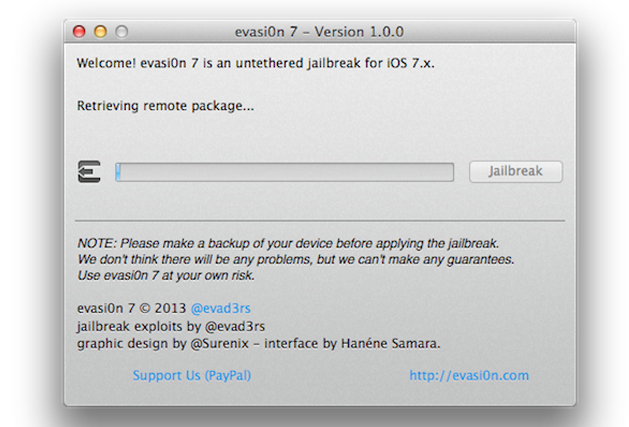
3 - After a few minutes, we see that our iPhone is restarted several times. This is very important not to touch or unlock your device in any course.
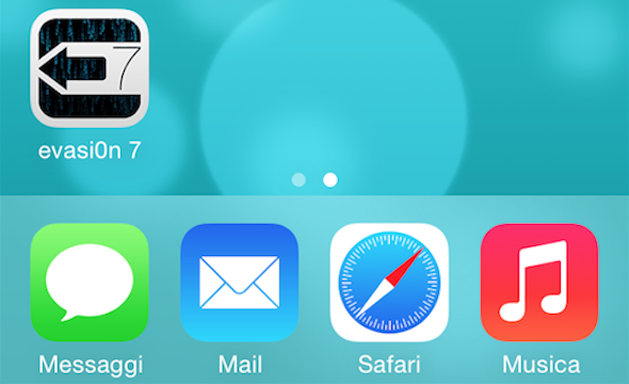
4 - After several reboots and once the transfer is successful, we will see a new application on our home screen. It is "Evasi0n" and we open it to finish to complete the process.
5 -. When the process is complete, we will see that the old application has disappeared and in its place we have . Cydia Were done!
As you have seen, the process is extremely simple and does not require more than a few minutes to have our unthetered our iPhone Jailbreak iOS 7
Go to link Download
Subscribe to:
Posts (Atom)